No items in cart
How to Register / How to Sign Up Metamask
How to Register / How to Sign Up Metamask
How to set up MetaMask
Setting up a crypto wallet for the first time can feel daunting. MetaMask makes the process relatively straightforward, but you’ll still need to follow some steps to ensure you’ve done it correctly.
Step 1: Download and Install MetaMask
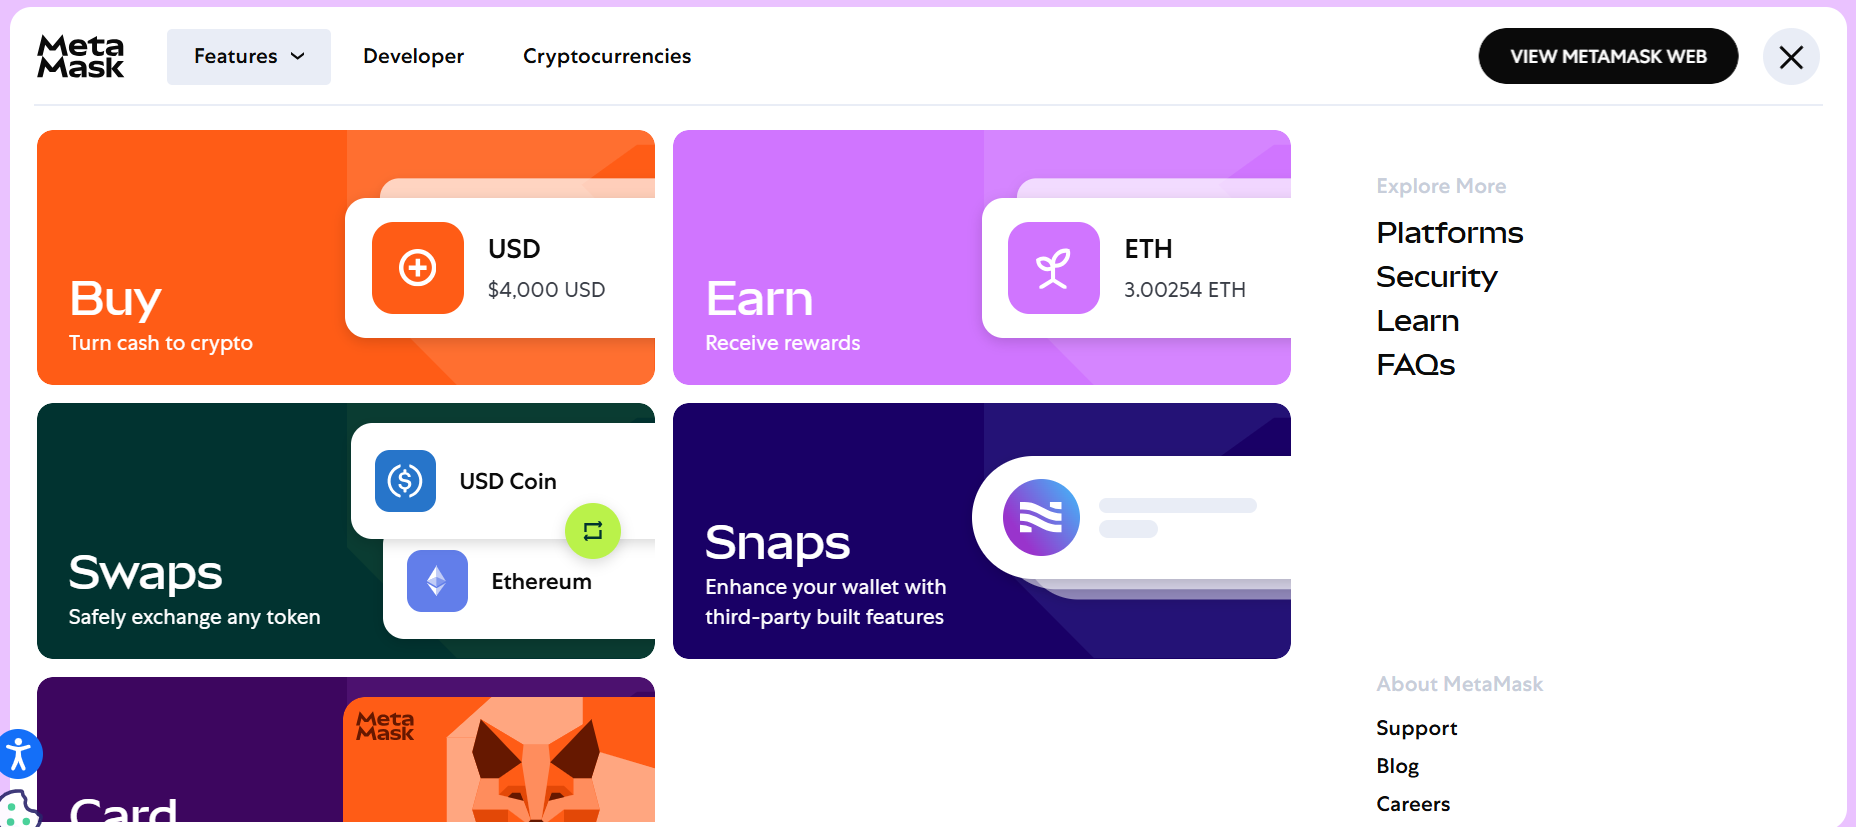
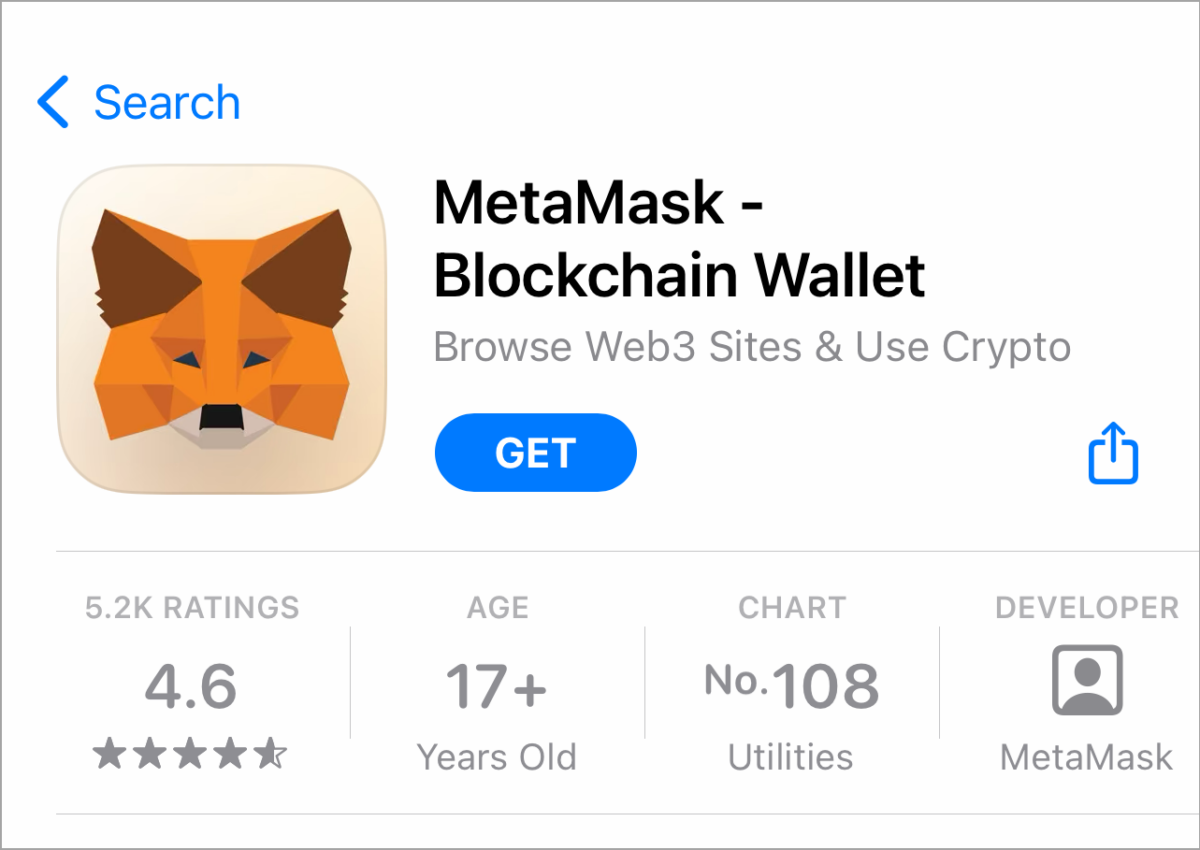
Start at the MetaMask website, where you’ll find instructions on how to download the wallet as well as a list of browsers compatible with the MM browser extension. Currently, MM can be used only on Chrome, Firefox, Brave, Microsoft Edge or as an app via an Apple or Android device.
If you’re hoping to primarily use MM on mobile, the easiest way to get started would still be to set up an account via a PC or Mac. Although you can jump straight into setting up a MM wallet from your phone, browsing and collecting NFTs can be a bit difficult via mobile, considering many projects and interfaces aren’t built for a handheld interface. Once you have the browser extension fully set up, you can then create an account that can be imported onto the Apple or Android app.
Step 2: Create an Account
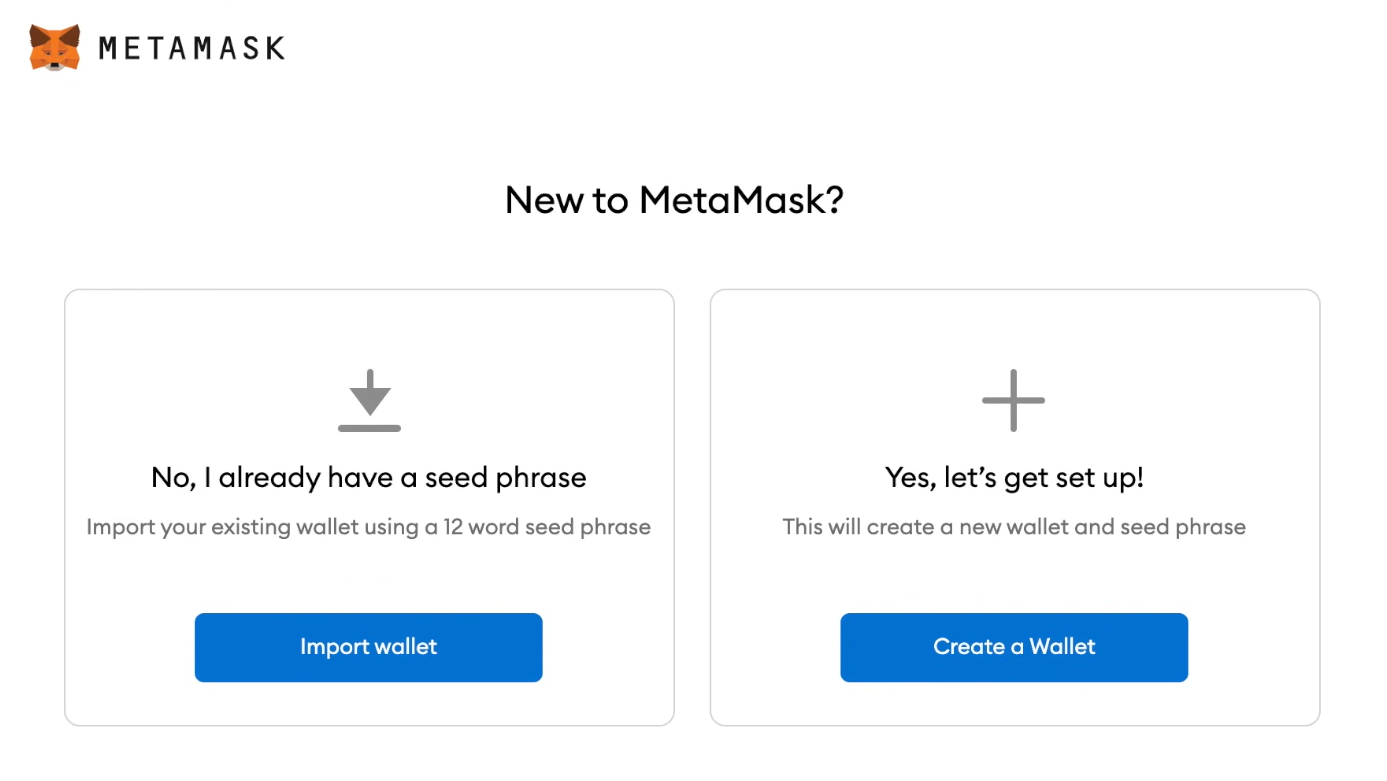
Once you’ve downloaded and installed the browser extension (for this tutorial, we’re using Chrome), you’ll arrive at the first selection screen.
If this is your first time setting up a software wallet, you’ll want to start with the “Create a Wallet” option. If you have an existing software wallet (Atomic, Exodus, Rainbow, etc.) and want to transition over to MetaMask, select the “Import wallet” option.
2a: If you need to create a wallet
After you’ve selected the option to create a new wallet, you’ll be asked to agree to — or opt-out of — MetaMask’s usage data gathering. You can always opt-out later in the MM wallet settings.
Next, you’ll get a prompt to create a password. You’ll use this password to sign in to your MM account via the browser extension or the mobile app. Although this is not your private key/seed phrase, you’ll want to save it in a safe place, just as with any password.
The next step after selecting a password does involve your seed phrase — or “secret backup phrase” — so act with care. You’ll receive a randomly generated string of words and will be asked to confirm this phrase by entering it back into the app. Once confirmed, you’ll arrive at the main page of your MetaMask wallet.
Note: Two secure ways to consider storing your seed phrase are to physically write it down in a notebook or on a notepad and save it somewhere safe and offline or use a password manager to encrypt your password and phrase. Saving your phrase anywhere on your computer (Word doc, text file, etc.) could leave you vulnerable to hacks and scams. Since the initial 2021 NFT boom, numerous prominent NFT artists and collectors have been scammed and hacked via their seed phrase.
2b: Import your wallet
If importing an existing wallet, you’ve most likely navigated a software wallet interface before and have a general idea of how MetaMask will function. Upon selecting the “Import wallet” option, you’ll get a prompt to enter a private key (seed phrase) or upload a JSON file (basically a snapshot of your existing wallet’s info) for the import, so have one or the other ready!
Once you’ve imported your existing wallet, you — as with anyone new to MetaMask — should continue on to Step 3 to ensure your MM wallet is set up to your ideal preferences.
Step 3: Configure Settings
Take a moment to explore and configure your new wallet’s settings. This may seem like an arbitrary step to some, but familiarizing yourself with MetaMask’s settings and assorted menus can be a big help should you ever run into any trouble.
To access the general settings page, click the account photo in the top right of the page next to where it says “Ethereum Mainnet.” Fields such as your account name, notification settings, and contact list can be edited from the settings page.
Note that your wallet’s unique Ethereum address is listed directly below the “Account 1” identifier. An Ethereum address is a random string of characters akin to a bank account number. You’ll use this address to interact with the Ethereum blockchain, sometimes inputting it into sites and exchanges to collect, send, and receive tokens. Every ETH address is public (more or less, depending on how it’s used) and searchable via Etherscan.io.
Just because you can see/copy someone’s address does not mean you have control over it. While anyone can send a token to any ETH address, only the user who owns the wallet associated with the address (i.e., has the password and seed phrase) can manage and utilize the tokens within it.
After you’ve looked through MetaMask’s settings and verified that your wallet is in the correct language and displaying your preferred currency conversion, you can move on to using your wallet to interact with tokens.
Step 4: Add Funds
The two most common ways to add a token to your MetaMask wallet are by either A) sending it from an exchange (Coinbase, Gemini, etc.), or B) purchasing ETH directly through vetted partners in MetaMask’s payment interface.
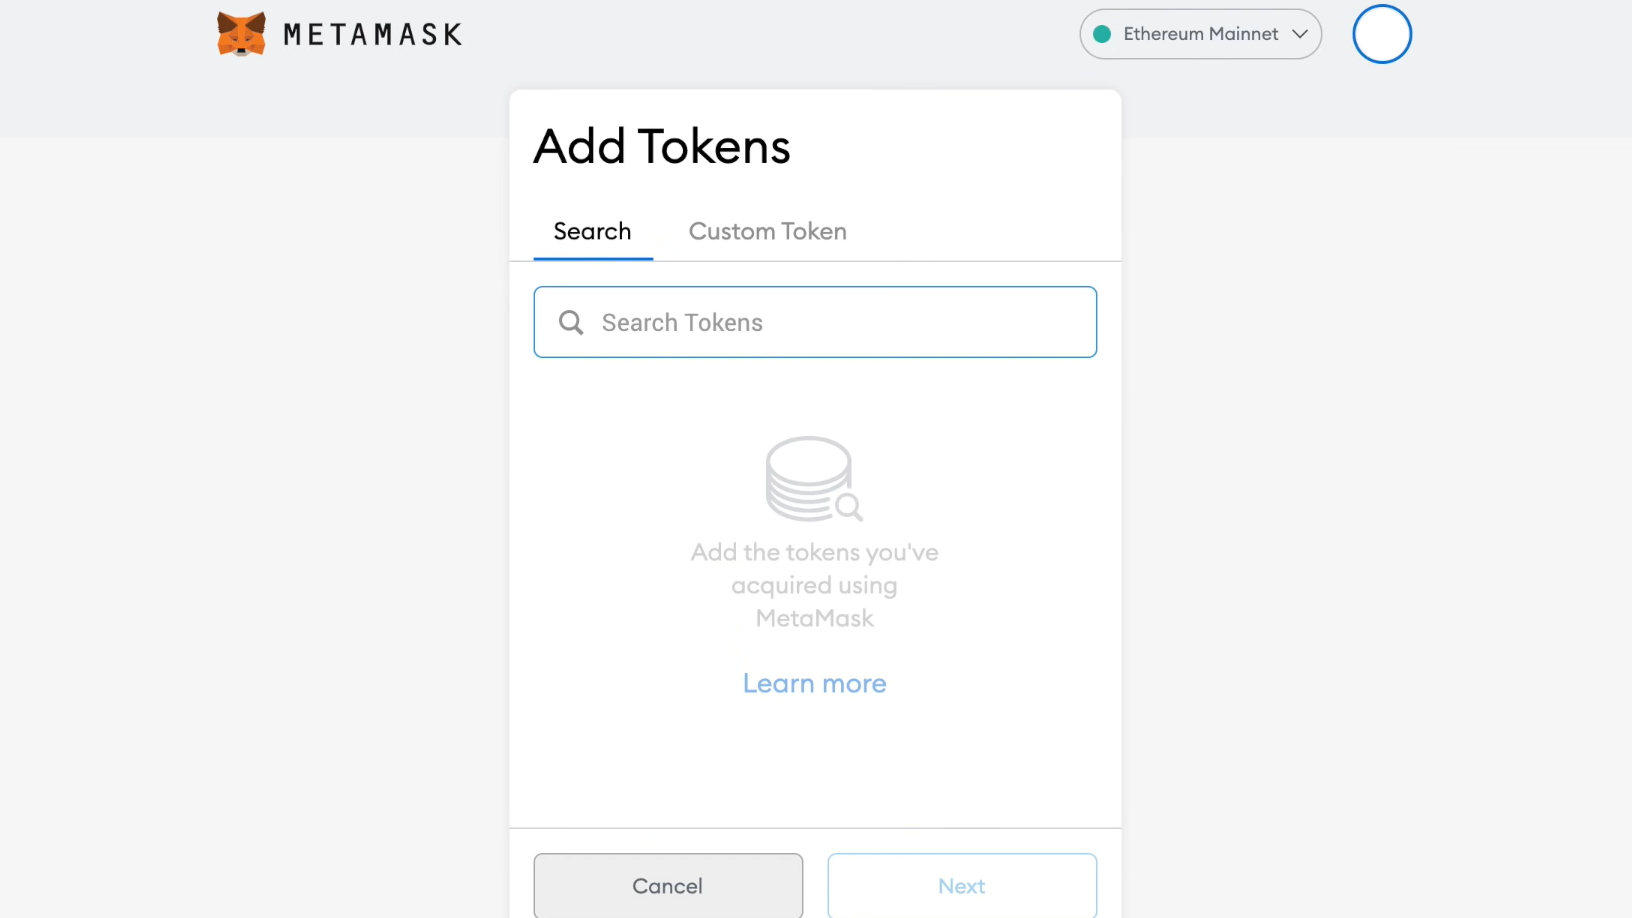
Before purchasing or receiving a token in your wallet, be sure to click the “Add Token” button at the bottom of your main wallet page. Although ETH is the default token, as MetaMask is an Ethereum wallet, here you can search for a variety of commonly traded tokens.
After you’ve added your desired token, it will be easier to import. The coin’s symbol (shorthand identifier: ETH = Ethereum, BTC = Bitcoin, etc.) will appear under “Assets” on the main wallet page just below ETH.
4a: Receiving Tokens From an Exchange
If you’re already an experienced crypto trader, importing from an exchange will be the most direct option for you to transfer tokens into MetaMask. Copy your MetaMask wallet address (that long string of numbers below “Account 1”) before heading over to your preferred exchange and plug that address into the “send” feature.
Similarly, if you’re receiving ETH or another token from a different wallet (be it your own or someone else’s), you’ll need to input your unique Ethereum address into the transaction details on the sender’s wallet.
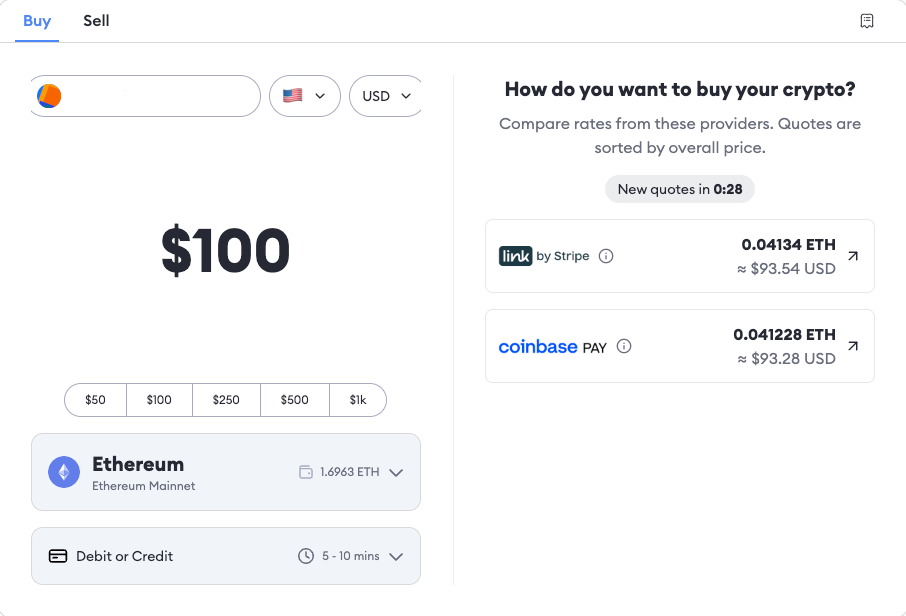
4b: Purchasing ETH via MetaMask
Another way to obtain tokens is to purchase ETH via MetaMask’s payment interface. Purchasing ETH through MetaMask will allow you to directly receive the funds into your wallet to keep, trade or swap for a different token. This feature can be accessed by simply clicking “Buy” on the main MM wallet page.
Once you’re on the purchasing interface, there will be a prompt to enter an amount and then billing details. To purchase ETH via debit or credit card, you’ll have the option of selecting Coinbase Pay or Link by Stripe. Otherwise, you can also purchase it through PayPal or an ACH deposit.
Step 5: Moving to Mobile
To use your new wallet on your phone, you’ll need to download the MetaMask app through Apple’s App Store or the Google Play Store. Once downloaded, open up the app, which will guide you through a set of prompts similar to when you first set up your wallet.
This time, you’ll want to choose the “Import Using Seed Phrase” option and input the private key you previously saved during your initial MetaMask setup. You’ll then be ready to use your MM wallet on the go.
Step 6: Buying NFTs
Once you’ve set up, explored, and populated your wallet with tokens, you can connect to one of the many NFT marketplaces and buy, sell and trade NFTs!
The first marketplaces you’ll want to set up an account on are OpenSea and Blur. OS is one of the main peer-to-peer NFT marketplaces out there, allowing users to interact with and trade NFTs from numerous different marketplaces and blockchains. Blur is a newer marketplace that has gained a lot of traction and is more geared towards high-volume traders with a different interface and layout.
After you’ve collected some NFTs, they will live inside your wallet and can be found via your OpenSea page (or other marketplace accounts), or under the NFT tab on the MetaMask mobile app. You can learn more about how OpenSea works and how to set up an account on the platform via its support page.
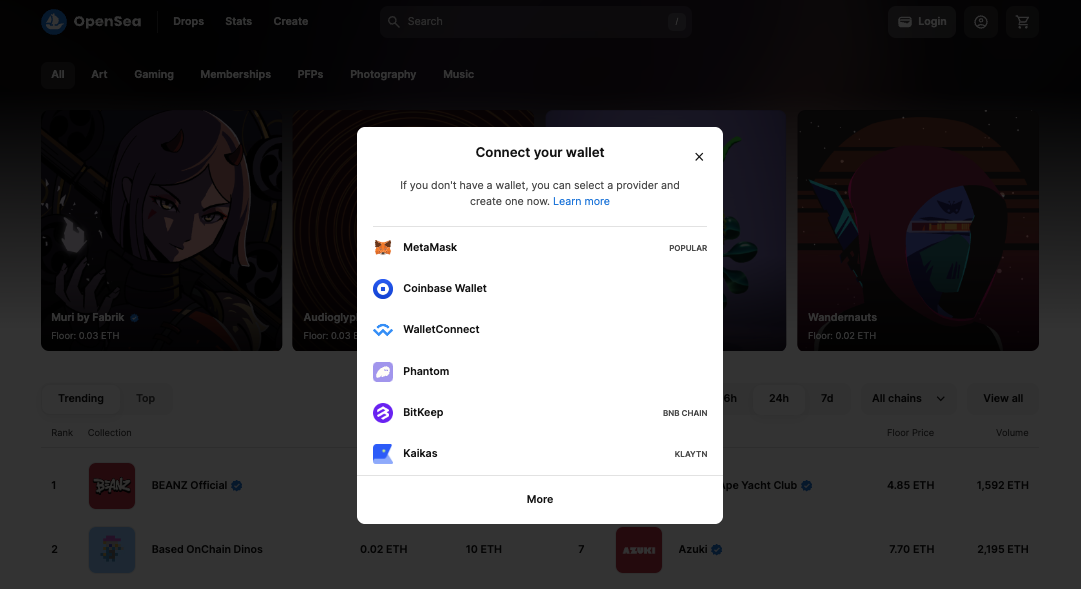
Make sure that you’re signed into your MetaMask before navigating to OpenSea, Blur, Zora and other NFT marketplaces. Similarly, when prompted to connect your wallet to a website, be it a marketplace or project hub, be sure the site is credible and that the transaction you receive in your wallet was sent by the site you’re currently on and not a third party.

Match Teacher

Lorem Ipsum is not the simply random text